Tanking is waterproofing beneath the finish
In a bathroom, tanking means applying a waterproofing system behind or beneath the visible shower finish. Depending on the system, that may involve a waterproof sheet, also called a membrane, a liquid coating, suitable boards and sealed joints. Its job is to help keep shower water out of the building materials around it. It is different from the tiles or panels you see when the room is finished.
Ask the fitter to explain the proposed system in those terms. You do not need to become an installer, but you should know which areas are being waterproofed and what is included. A quote that mentions only tiles and grout does not explain the whole shower construction.
Tiles and grout are not the whole system
Tiles provide a hard finished surface, while grout fills joints between them. Water can still find routes through joints, corners or openings if the construction behind them is unsuitable. That is why the preparation and waterproofing details matter even when the tile finish looks neat and the grout lines are straight.
Do not judge the waterproofing from the colour of the grout or a claim that the tiles are water resistant. Ask what is behind the finish and how changes of direction are dealt with. The correct answer depends on the selected products and their instructions, rather than a general promise that extra sealant will solve everything.
The wall and floor must be suitable first
Waterproofing is applied to a prepared surface. Loose, damaged or unsuitable material cannot simply be hidden beneath a membrane and expected to perform well. The fitter needs to check the wall or floor and carry out the preparation required by the chosen system before covering it.
If the old bathroom has leaked, ask what damage was found and what needs replacing. Keep photographs of repairs where practical. A solid, correctly prepared base supports both the waterproofing and the visible finish. This stage is difficult to see after the bathroom is complete, so it should be clearly described before fitting begins.
Joints, corners and pipes need attention
A shower contains more than flat wall areas. There are corners, pipe openings, junctions with the tray and sometimes shelves or niches. Those points need the appropriate detailing for the system being fitted. A waterproof coating across the main wall is not enough if water can bypass it at an untreated opening.
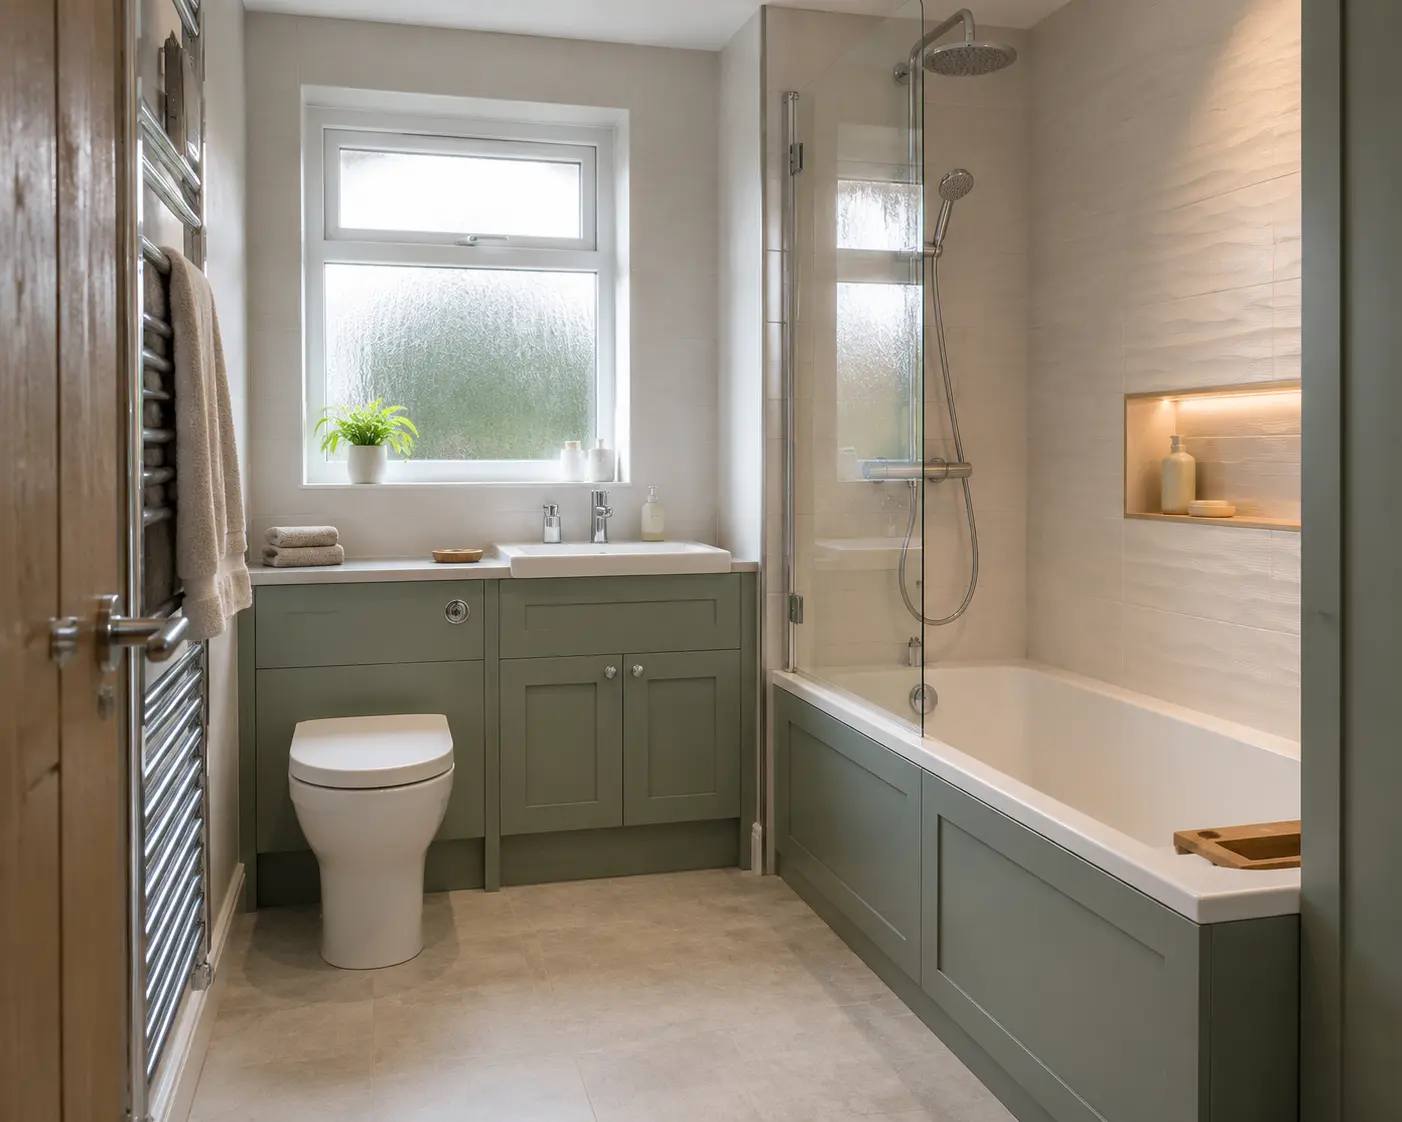
Ask how the installer will deal with the particular details in your room. A recessed shelf adds useful storage, but also adds corners and surfaces to prepare. Choose it early enough that its construction can be planned properly. Adding a niche after the wall system has been completed may involve more work than its small size suggests.
Wet rooms need a complete floor plan
A wet-room floor has to direct water to the drain as well as resist water penetration. The floor shape, drain connection, membrane and surrounding junctions need to work together. The required treatment may extend beyond the spot directly beneath the shower head, depending on the design and system.
Ask where the intended wet area ends and what happens near the doorway and other fittings. The fitter should explain any changes in floor level and the route for the waste pipe. A level-looking floor in a photograph does not show those details, so confirm them before agreeing to a wet-room conversion.
Follow the chosen system’s instructions
Manufacturers specify compatible components, preparation, application and waiting times for their waterproofing products. The exact details vary, so a method that works for one system should not automatically be transferred to another. Ask which product system is being used and keep that information with the bathroom documents.
Do not press the fitter to tile over work before the stated preparation and drying or hardening time is complete. Equally, ask for an explanation if the planned method seems unclear. You are entitled to understand the work you are paying for. A complete product system and a documented installation are more useful than an unexplained assurance that a wall has been “fully tanked”.
Know what to check at handover
Much of the waterproofing will be hidden by the time the bathroom is ready. Keep any installation photographs, product details and agreed work list. Ask when the shower can first be used and how exposed seals and joints should be maintained. Waterproofing behind the finish does not remove the need to look after the visible room.
If a leak appears later, have the cause investigated rather than adding sealant randomly over the surface. Water may enter at a fitting, joint or pipe connection, and the remedy depends on the problem. A clear record of the original system helps the person assessing it understand how the shower was built and which repairs are appropriate.
If more than one trade is involved, confirm who is responsible for the waterproofing and who checks it before covering. That is particularly useful when separate people fit the drain, prepare the floor and lay the tiles. The connections between their work should be agreed, rather than left for each person to assume somebody else has handled.

For help with the work described here, see our bathroom installation in Glasgow.
What to remember
Confirm the waterproofing system, treated areas and joints before they are covered.Bathroom fitters Glasgow
Get a quote for your Glasgow bathroom
Tell us what needs changing and add your postcode. We will contact you about the work.